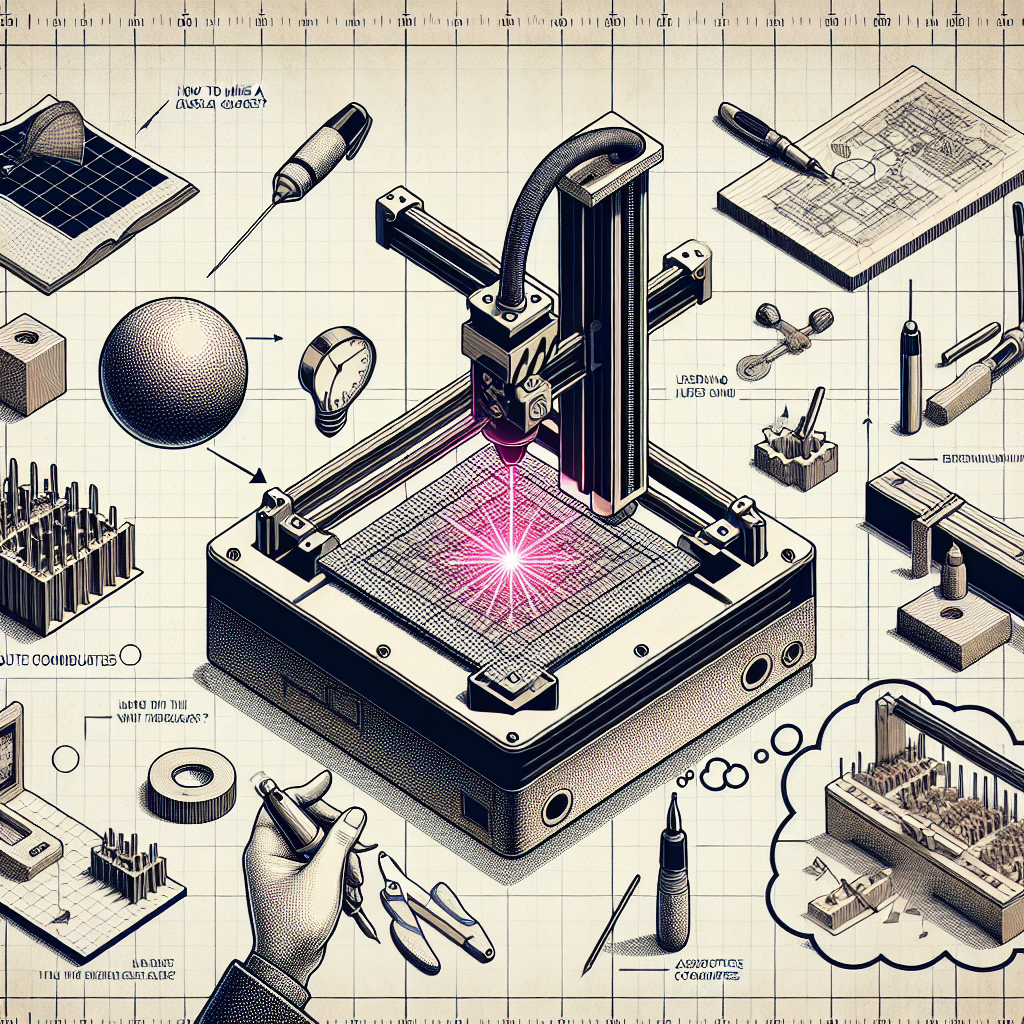
Are you looking for a way to make precise, accurate cuts with your xTool laser engraver? One common question in the laser engraving community is how to create a jig and use it with absolute coordinates on an xTool. Lucky for you, we have the answer. With just a simple piece of tape and some basic techniques, you can easily create a jig to help you achieve perfect cuts every time.
The Simple Solution: Using Tape to Score a Line or Square
The key to creating a successful jig for your xTool laser engraver is to start small and simple. Begin by using a piece of tape to create a basic line or square on your work surface. This will serve as your guide for aligning your materials and achieving precise cuts. Make sure to use a strong adhesive tape, such as masking tape, to ensure it stays in place while you work.
Next, using your xTool laser engraver, carefully score along the line or square you have created with the tape. This will act as a reference point for aligning your materials, ensuring they are all in the correct position before engraving.
Adding a Second Layer in the Lightburn Project
For more complex engraving projects, you may need to create a custom jig to fit the specific dimensions of your materials. In this case, you can use scrap wood and bolt it down to your work surface to create a stable base for your jig.
In addition, you can also use the second layer feature in Lightburn to create an outline of the item you are engraving. This layer will serve as a frame or guide for your materials, allowing you to easily align them with the tape scored along the first layer. This method is especially useful for engraving irregularly shaped items or multi-layered materials.
Achieve Perfectly Aligned Cuts with an xTool Laser and Simple Jig
By using a combination of basic tape and advanced Lightburn features, you can easily create a custom jig for your xTool laser engraver and achieve precise, accurate cuts every time. Remember to start small and simple, and build up to more complex jigs as needed. With these techniques, you will be able to take your laser engraving to the next level and achieve professional-looking results with ease.
