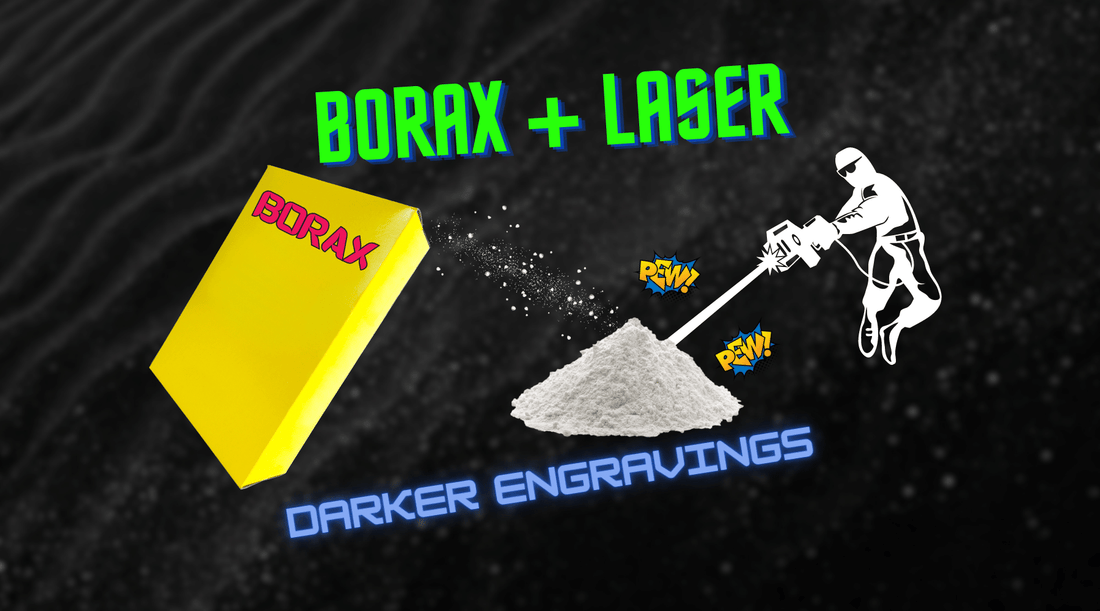
Unveiling the Techniques for Darker Engraving
Preparing the Engraving Surface
Before delving into the engraving process itself, it is crucial to properly prepare the surface you'll be working on. This ensures optimal adhesion and longevity of the engraving marks. Follow these steps:
-
Cleaning: Thoroughly clean the surface with a mild detergent to remove any dust, oil, or debris. This will guarantee a pristine starting point for your engraving endeavors.
-
Drying: Ensure that the surface is completely dry before proceeding. Moisture can interfere with the bonding process and compromise the engraving quality.
Creating the Borax Solution
To unlock the full potential of borax in achieving darker engraving results, you'll need to create a borax solution. The concentration of borax in the solution can be adjusted to achieve different levels of darkening. For a light darkening, a solution of 2-3% borax in water can be used. For a more dramatic darkening, a solution of 5-10% borax in water can be used.
Here's a real volume example for the measurement:
For a Light Darkening: Mix approximately 2-3 teaspoons of borax in 1 cup (237 ml) of distilled water.
For a More Dramatic Darkening: Mix approximately 5-10 teaspoons of borax in 1 cup (237 ml) of distilled water.
Mixing the Borax Solution
-
Measurements: Start by measuring the appropriate amount of borax and distilled water for your project based on the desired darkening level. You can use the volume examples provided above as a reference.
-
Mixing: Dissolve the borax in distilled water, stirring gently until it forms a homogeneous solution. Avoid vigorous agitation to prevent the introduction of air bubbles.
-
Filtering: For optimal clarity and smoothness, filter the solution through a fine mesh or coffee filter to remove any impurities.
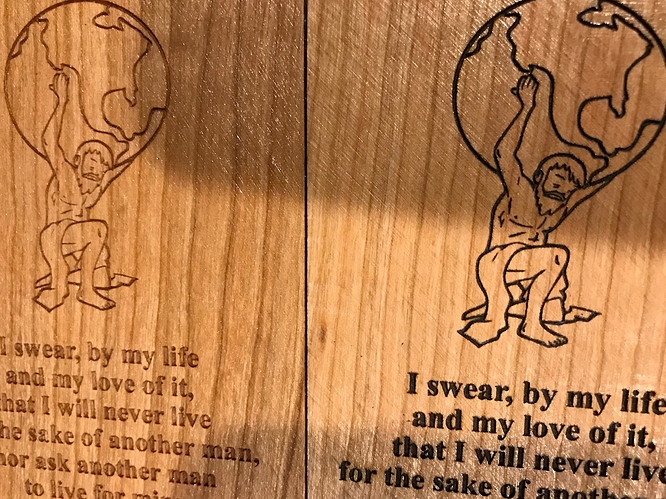 Photo: LightBurn
Applying the Borax Solution
Now that you have prepared the borax solution, it's time to apply it to the engraving surface. Follow these steps to ensure exceptional results:
-
Even Application: Using a soft brush or sponge, apply a thin and even layer of the borax solution to the entire engraving area. Be meticulous in your application, ensuring complete coverage.
-
Drying Time: Allow the borax solution to dry naturally. Depending on the ambient temperature and humidity, this process can take several hours or even overnight. Avoid rushing the drying process to prevent smudging or unevenness.
-
Multiple Coats: For darker engraving results, consider applying multiple coats of the borax solution. Allow each coat to dry thoroughly before proceeding to the next, ensuring a cumulative effect.
Note: we found it easier to just leave the material (wood) in place and use a spray bottle, when doing a second coat. That way you don't mess up the alignment on the second pass.
Remember, the concentration of borax in the solution plays a significant role in the darkness of the engraving. Experiment with different concentrations to find the perfect balance for your specific project. With this knowledge, you can confidently create striking and long-lasting engravings that will captivate your audience. Happy engraving!